Packages - Identity
If you were to create authentication and authorization for your application, there are many things that you have to take care to protect the user information. Not only dose adding those features hard but also is time-consuming. ASP.NET identity is a package that is provided by .NET with all the bells and whistles. Let's see how we can use this package in this writing
List of Contents
Project Set UP
Using the Generic pattern
Application Architecture - Generic Repository
The repository pattern has a static type so whenever we create an entity, we have to create a repository as well. A generic is a way to restrict to a type or to dynamically change types. Let's see how we can use a generic repository for multiple entities P
jin-co.tistory.com
Installing Packages
Microsoft.AspNetCore.Identity.EntityFrameworkCore
Microsoft.AspNetCore.Identity
Microsoft.IdentityModel.Tokens
Microsoft.IdentityModel.Tokens.Jwt
Microsoft.AspNetCore.Authentication.JwtBearer
Adding Entities
Create a folder to hold the entity for users

Add an entity class in the folder

Inherit from the 'IdentityUser' class
IdentityUser
If you have additional properties you want to add, add them
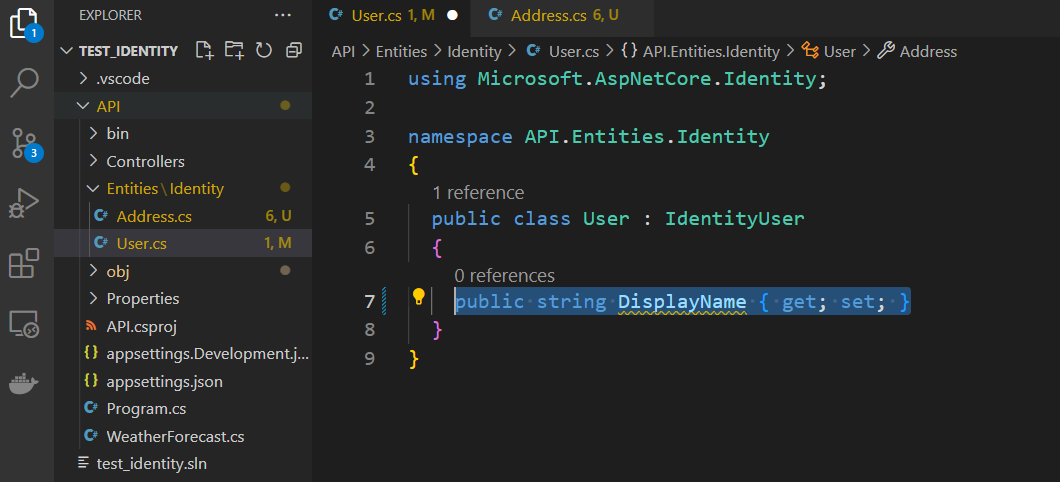
For demonstration, I will add another entity that the user entity references to
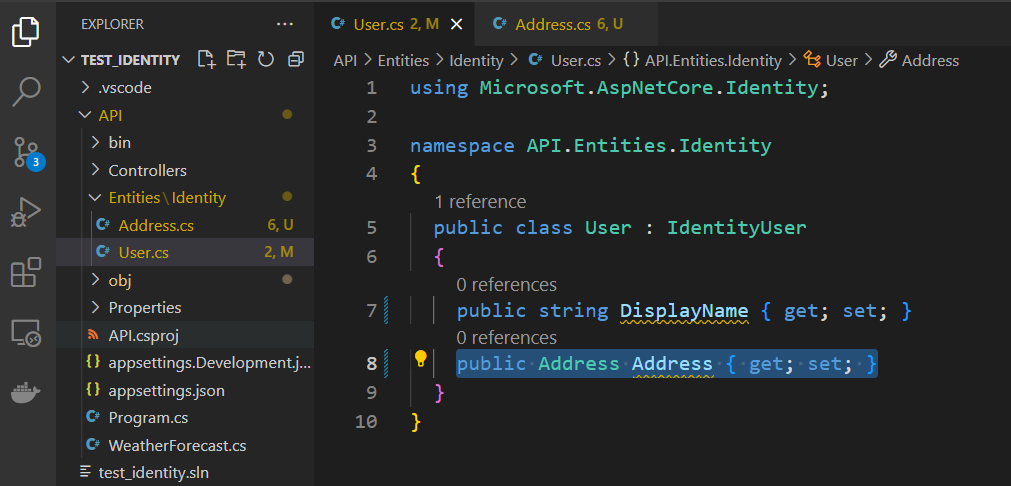
※ To set up 1 on 1 relation ship between the entities, add the primary entity and its ID to the referenced entity

As it is not preferable for the ID field for the primary entity in the referenced entity, add a [Required] annotation to make it a mandatory field

Adding a Context
We need a context for communicating with the database for the user. Create a folder for the context

Add a class in the folder

Inherit from the 'IdentityDbContext'
IdentityDbContext
Add a constructor with a context (here in this example, <IdentityContext>) as a generic type (need to specify this when you have more than two contexts) and add the follwing method
protected override void OnModelCreating(ModelBuilder builder)
{
  base.OnModelCreating(builder);
}
Add the entity we created above as a generic type to the 'IdentityDbContext' interface to reflect the additional properties we added

Go to the other contexts if you have and add each context as a generic type to the 'DbContextOptions' in their constructor

Defining Environment Variables
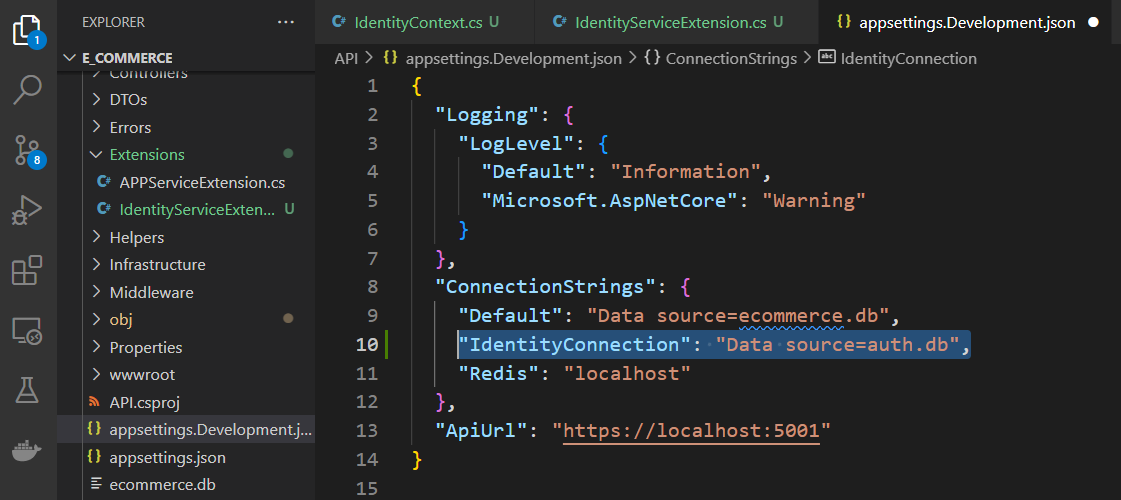
Create an environment variable in the 'appsettings' file to use the connection string dynamically
Adding Services
For better organization, add a class file to set up the identity service (this will be added to the Program.cs file)

Change the class to static and add the method shown below
public static IServiceCollection AddIdentityService(this IServiceCollection services, IConfiguration config)
{
  services.AddDbContext<IdentityContext>(opt =>
  {
    opt.UseSqlite(config.GetConnectionString("IdentityConnection"));
  });
  return services;
}
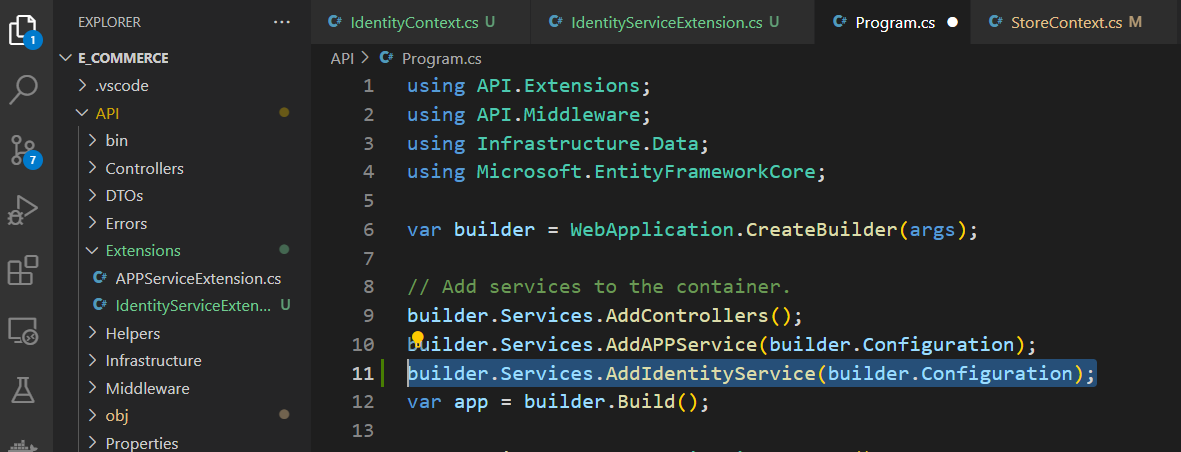
Go to the Program.cs file and use the static method we created (static method does not need to be instantiated) to use the service
Migrations
In the console, move to the root folder and create a migration with the command shown below. -p represents the project where the migrations will be created. -s represents the entry point. And -c represents the context that you are using (only need to specify this when we have multiple contexts). Finally, -o represents the path in which the migration files will be stored
dotnet ef migrations add <MigrationName> -p Infrastructure/ -s API/ -c IdentityContext -o <Path>
Creating a Default User
Add a class

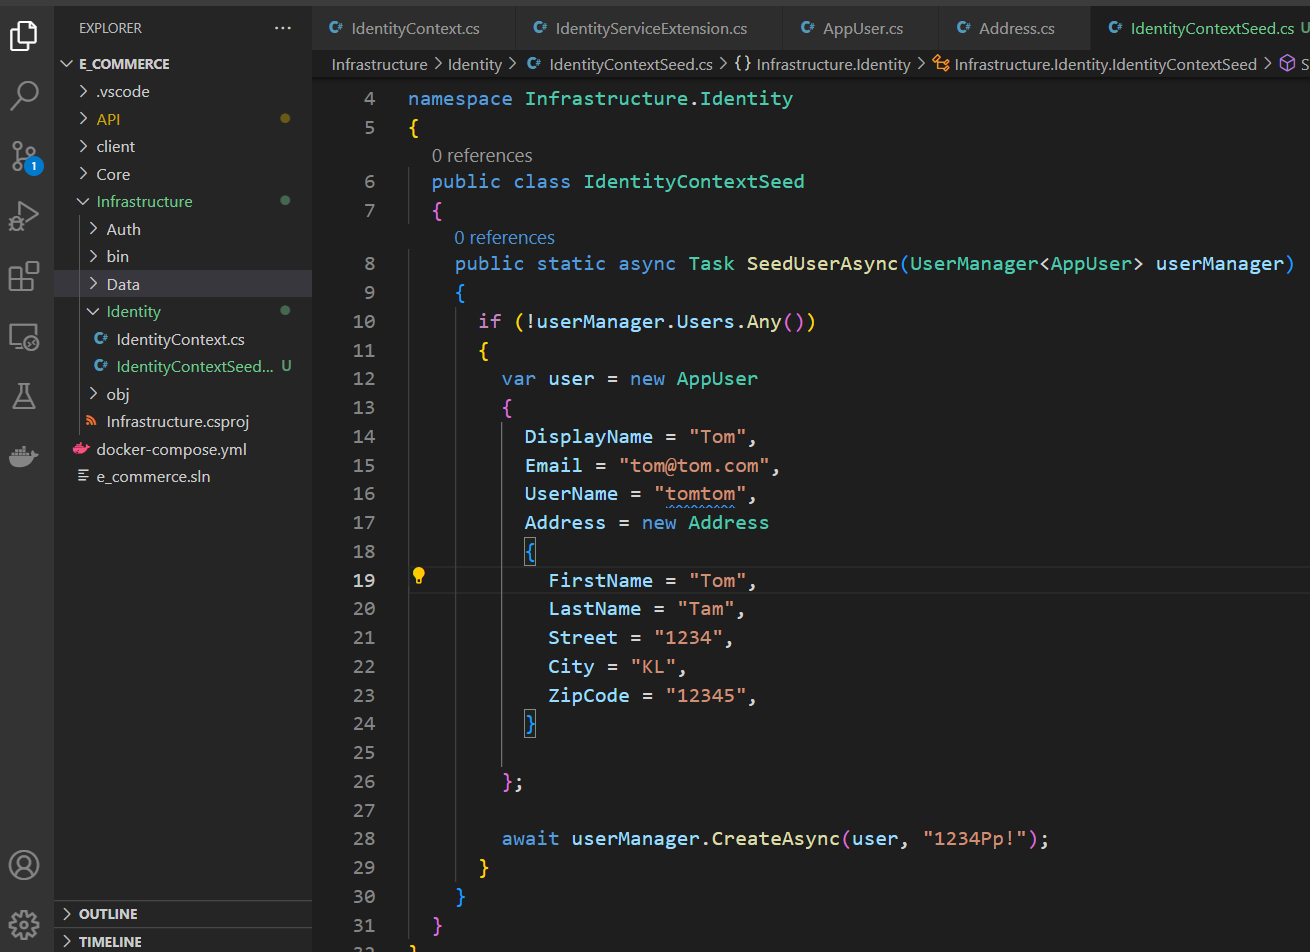
Add a static method shown below to automatically add a user(s). '1234Pp!' is the password and this should in clude one lowercase, one uppercase, one number, and one special charater.
public static async Task SeedUserAsync(UserManager<AppUser> userManager)
{
  if (!userManager.Users.Any())
  {
    var user = new AppUser
    {
      DisplayName = "Tom",
      Email = "tom@tom.com",
      UserName = "tomtom",
      Address = new Address
      {
        FirstName = "Tom",
        LastName = "Tam",
        Street = "1234",
        City = "KL",
        ZipCode = "12345",
      }
    };
    await userManager.CreateAsync(user, "1234Pp!");
  }
}
Go to the identity service extension class and add the code shown below
services.AddIdentityCore<AppUser>(opt => {
})
.AddEntityFrameworkStores<IdentityContext>()
.AddSignInManager<SignInManager<AppUser>>();

services.AddAuthentication();
services.AddAuthorization();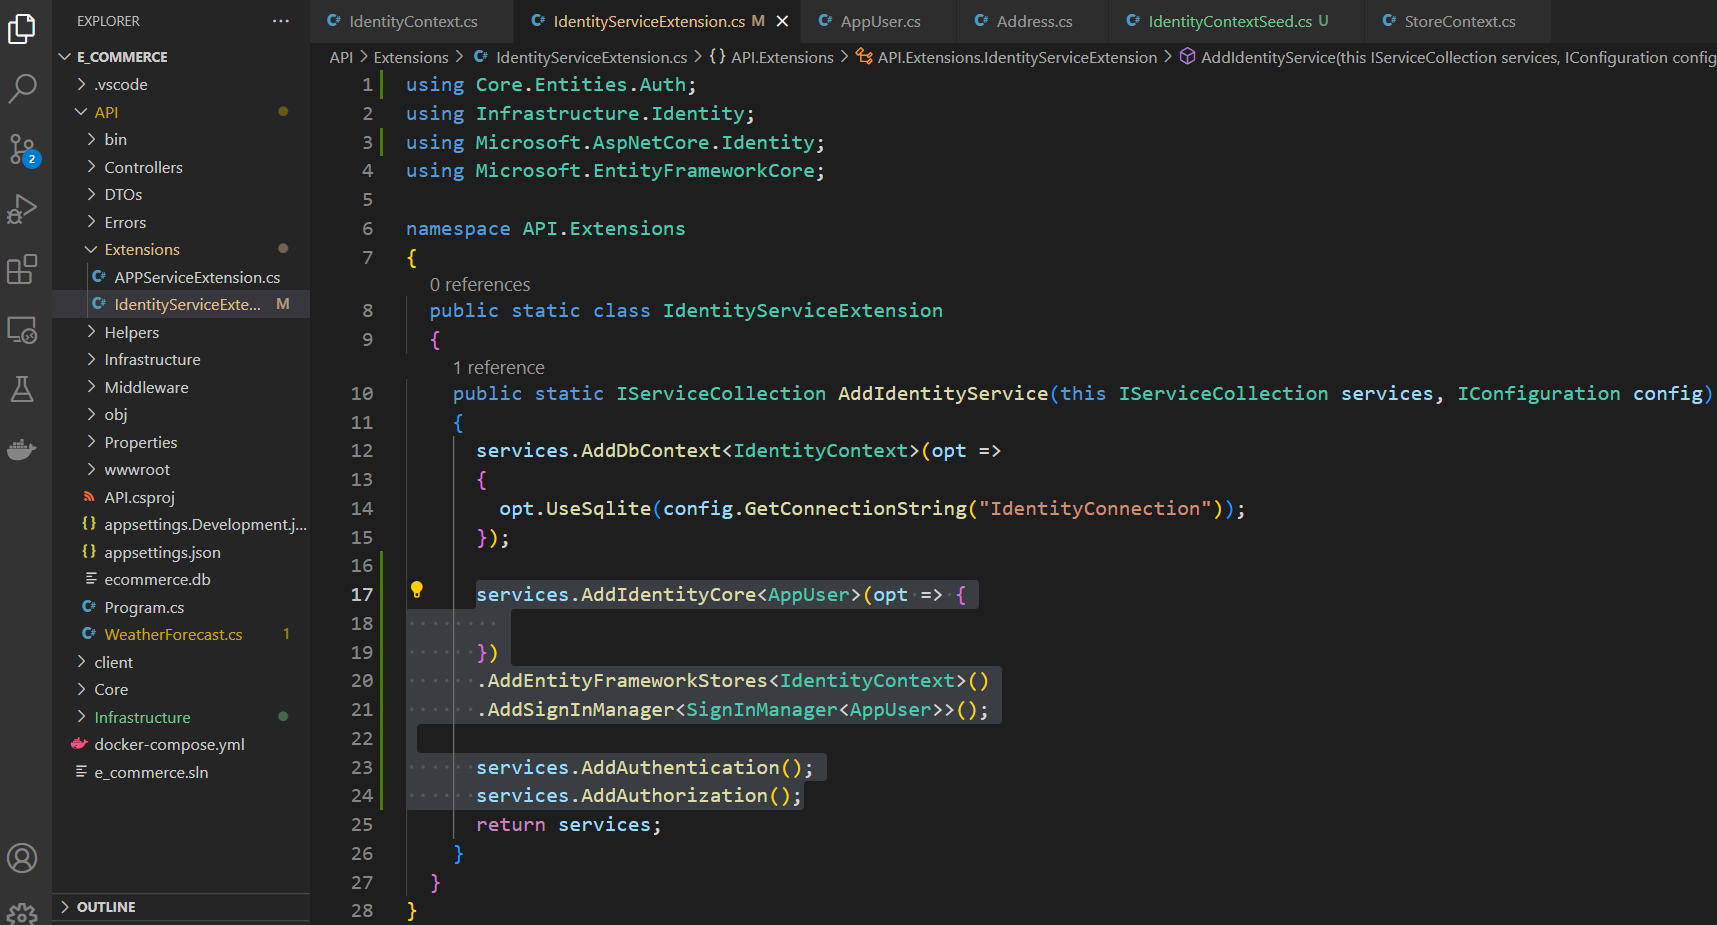
Go to the Program.cs file and add the authentication middleware
app.UseAuthentication();using var scope = app.Services.CreateScope();
var services = scope.ServiceProvider;
var authContext = services.GetRequiredService<UserIdentityContext>();
var userManager = services.GetRequiredService<UserManager<User>>();
try
{
await authContext.Database.MigrateAsync();
await UserIdentityContextSeed.SeedUserAsync(userManager);
}
catch (Exception ex)
{
Console.WriteLine(ex.Message);
}
Move to the API folder
cd /APIAnd run the app
dotnet watchUsing Identity
Creating a Class for Parameters
When you add the user information as a parameter separately, this is considered parameters in the URL for that endpoint. The problem with this is, as you can see, the user information is displayed in the URL and this is not ideal.


To move this information to the body of a request call, which at least hide the information from the URL, we can create a class that contains the information as parameters.
Add a class

Add necessary properties

Creating a Controller
Create a controller file to specify the endpoints for the authentication and authorization

Add a constructor and inject 'UserManager' for fetching users stored in the database and 'SignInManager' for authentication

▶ Log In
Set up an endpoint for loggin in
[HttpPost("login")]
public async Task<ActionResult<User>> Login(AuthDTO authDTO)
{
  var user = await _userManager.FindByEmailAsync(authDTO.Email);
  var result = await _signInManager.CheckPasswordSignInAsync(user, authDTO.Password, false);
  return user;
}
Run the app and hit the endpoint, if you see the data being returned that means it is successful

▶ Register
Set up an endpoint for the registration
[HttpPost("join")]
public async Task<ActionResult<User>> Join(string name, string email, string password)
{
  var user = new User
  {
    DisplayName = name,
    Email = email,
    UserName = name,
  };
  var result = await _userManager.CreateAsync(user, password);
  return user;
}
Run the app and hit the endpoint, if you see the data being returned that means it is successful

Json Web Token
Token is a way to verify the user who wants to log in is the person they say they are. Json Web Token stores the token in JSON format encryted and is a popular way to send token for its convienence and security. It offers an extra security but be mindful about using crucial information such as a password as the token as with a tool the encrytion can be decoded
Adding a Environment Variable for the JWT
Go to the 'appsettings' file and add a environment variable that contains the key and the issuer. Note that the value for the key should be 12 charaters and more
"Token": {
  "Key": "secret secret secret",
  "Issuer": "http://localhost:5099"
}
Creating a Token
Add an interface
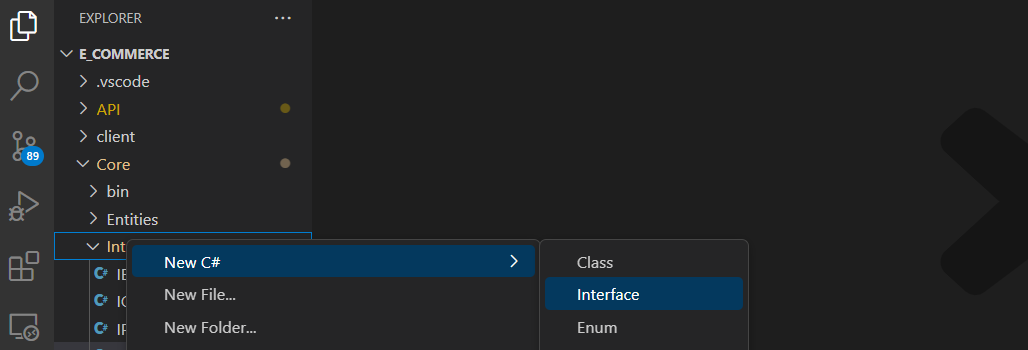
Add a method that returns the token

Add a class to Implement the interface

Add a constructor and inject the 'IConfiguration' and add the code that creates a symmetric key shown below
private readonly IConfiguration _config;
private readonly SymmetricSecurityKey _key;
public TokenService(IConfiguration config)
{
  this._config = config;
  this._key = new SymmetricSecurityKey(Encoding.UTF8.GetBytes(_config["Token:Key"]));
}
Inherit the interface and implement. Then add the code shown below to create a token
public string CreateToken(User user)
{
  var claims = new List<Claim> {
    new Claim(ClaimTypes.Email, user.Email),
    new Claim(ClaimTypes.GivenName, user.DisplayName)
  };
  var credentials = new SigningCredentials(_key, SecurityAlgorithms.HmacSha256Signature);
  var tokenDescriptor = new SecurityTokenDescriptor
  {
    Subject = new ClaimsIdentity(claims),
    Expires = DateTime.Now.AddDays(1),
    SigningCredentials = credentials,
    Issuer = _config["Token:Issuer"]
  };
  var tokenHandler = new JwtSecurityTokenHandler();
  var token = tokenHandler.CreateToken(tokenDescriptor);
  return tokenHandler.WriteToken(token);
}
Adding Options to Verify the Token
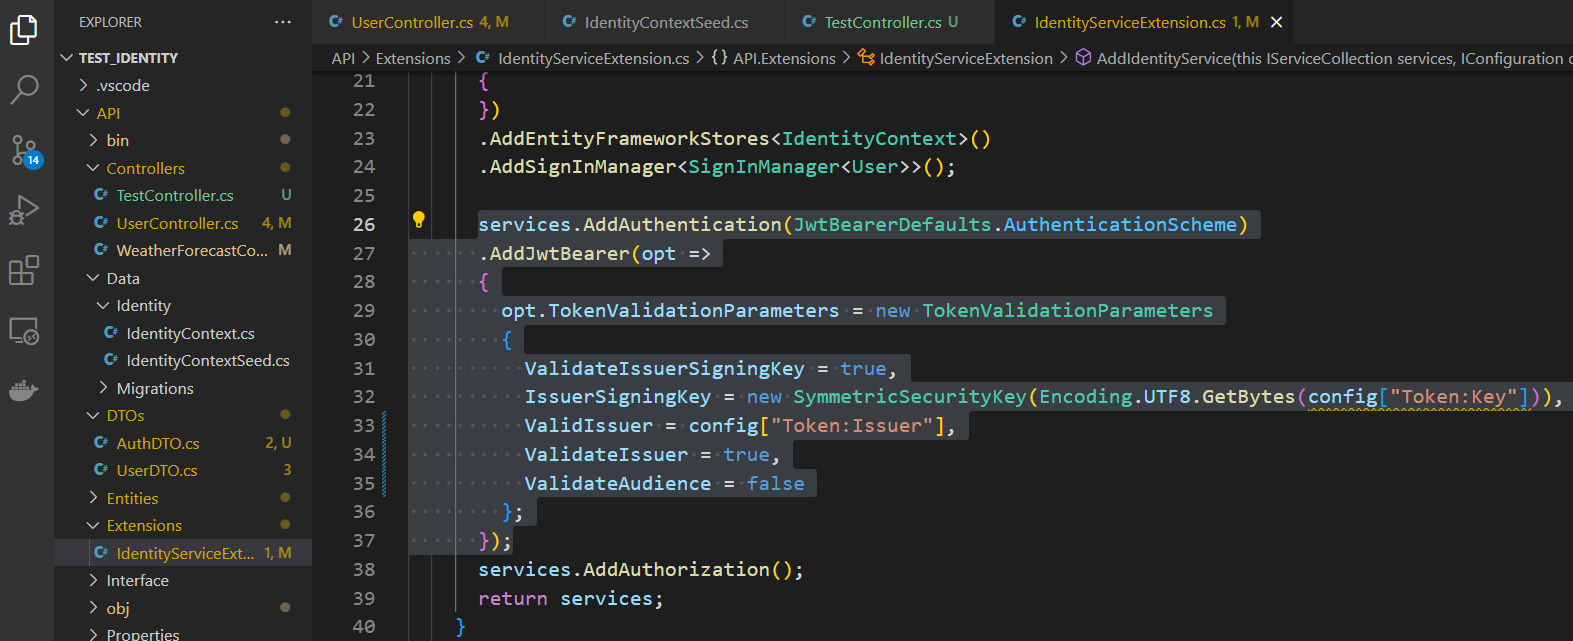
To verify the user from the server, we need to add an option to the 'AddAuthentication' in the 'IdentityServiceExtension' we created earlier
services.AddAuthentication(JwtBearerDefaults.AuthenticationScheme)
.AddJwtBearer(opt =>
{
  opt.TokenValidationParameters = new TokenValidationParameters
  {
    ValidateIssuerSigningKey = true,
    IssuerSigningKey = new SymmetricSecurityKey(Encoding.UTF8.GetBytes(config["Token:Key"])),
    ValidIssuer = config["Token:Issuer"],
    ValidateIssuer = true,
    ValidateAudience = false
  };
});
Adding the JWT as a Service
Register the token service to the Program.cs file
builder.Services.AddScoped<ITokenService, TokenService>();
Updating The JWT Controller
Go to the user controller and inject the token interface

To add a token to the response, create a class for transfering the data (Using DTO)

Add necessary properties including one for the token

Go to the controller and replace the return typ to DTO we just created and return the DTO
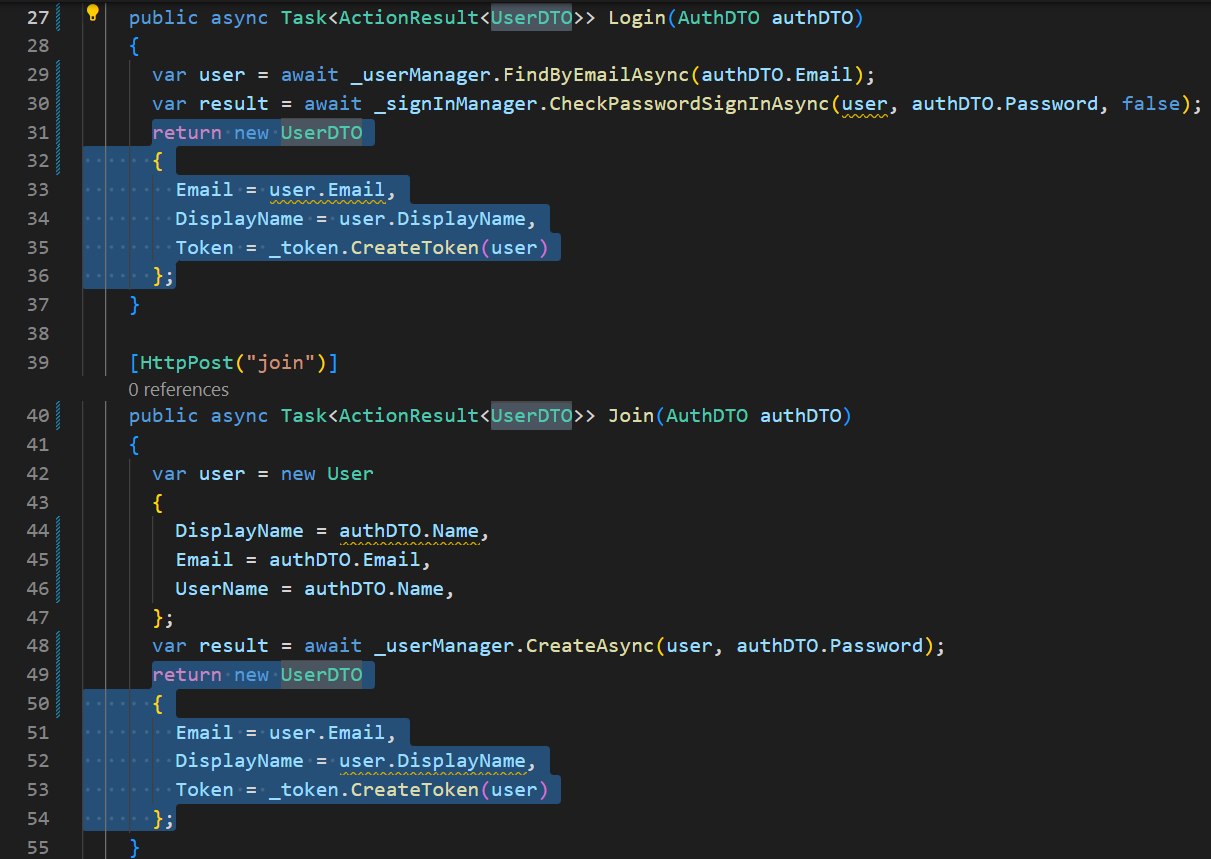
Run the app and hit the endpoint, if you see the token attached to the data being returned that means it is successful

Using Authorization
Add the annotion shown below to the endpoint you want to authorize
[Authorize]
Run the app and hit the URL then you will 401 unauthorized

Add the token in the header of your request and send another request.

Then you will the data

So far, we have seen the .NET identity
Rerences
JWT.IO
JSON Web Tokens are an open, industry standard RFC 7519 method for representing claims securely between two parties.
jwt.io